🧳 Japan Before You Land: The Smart Traveler’s Toolkit

Japan can be pure chaos, complete serenity, candy-coated wonder, and quiet temple peace all wrapped into one dazzling, magical country. One minute you’re lost in the glow of vending machines that sell everything from lattes to lucky charms, and the next you’re standing in front of a thousand-year-old shrine surrounded by nothing but stillness. But before you dive headfirst into bullet trains, ramen steam, and the hypnotic rhythm of convenience store jingles, there’s a bit of pre-departure wizardry to master.
These five small but mighty steps will transform your first 12 hours in Japan from potential travel chaos into a smooth, cinematic montage of adventure and excitement. Ready to dive in and experience Japan like a total pro (and maybe even outsmart that pesky jet lag)? Here’s everything you absolutely need to do before you even set foot in the Land of the Rising Sun — Queerdos style, naturally!
Step One:
Get Your Yen Situation Sorted
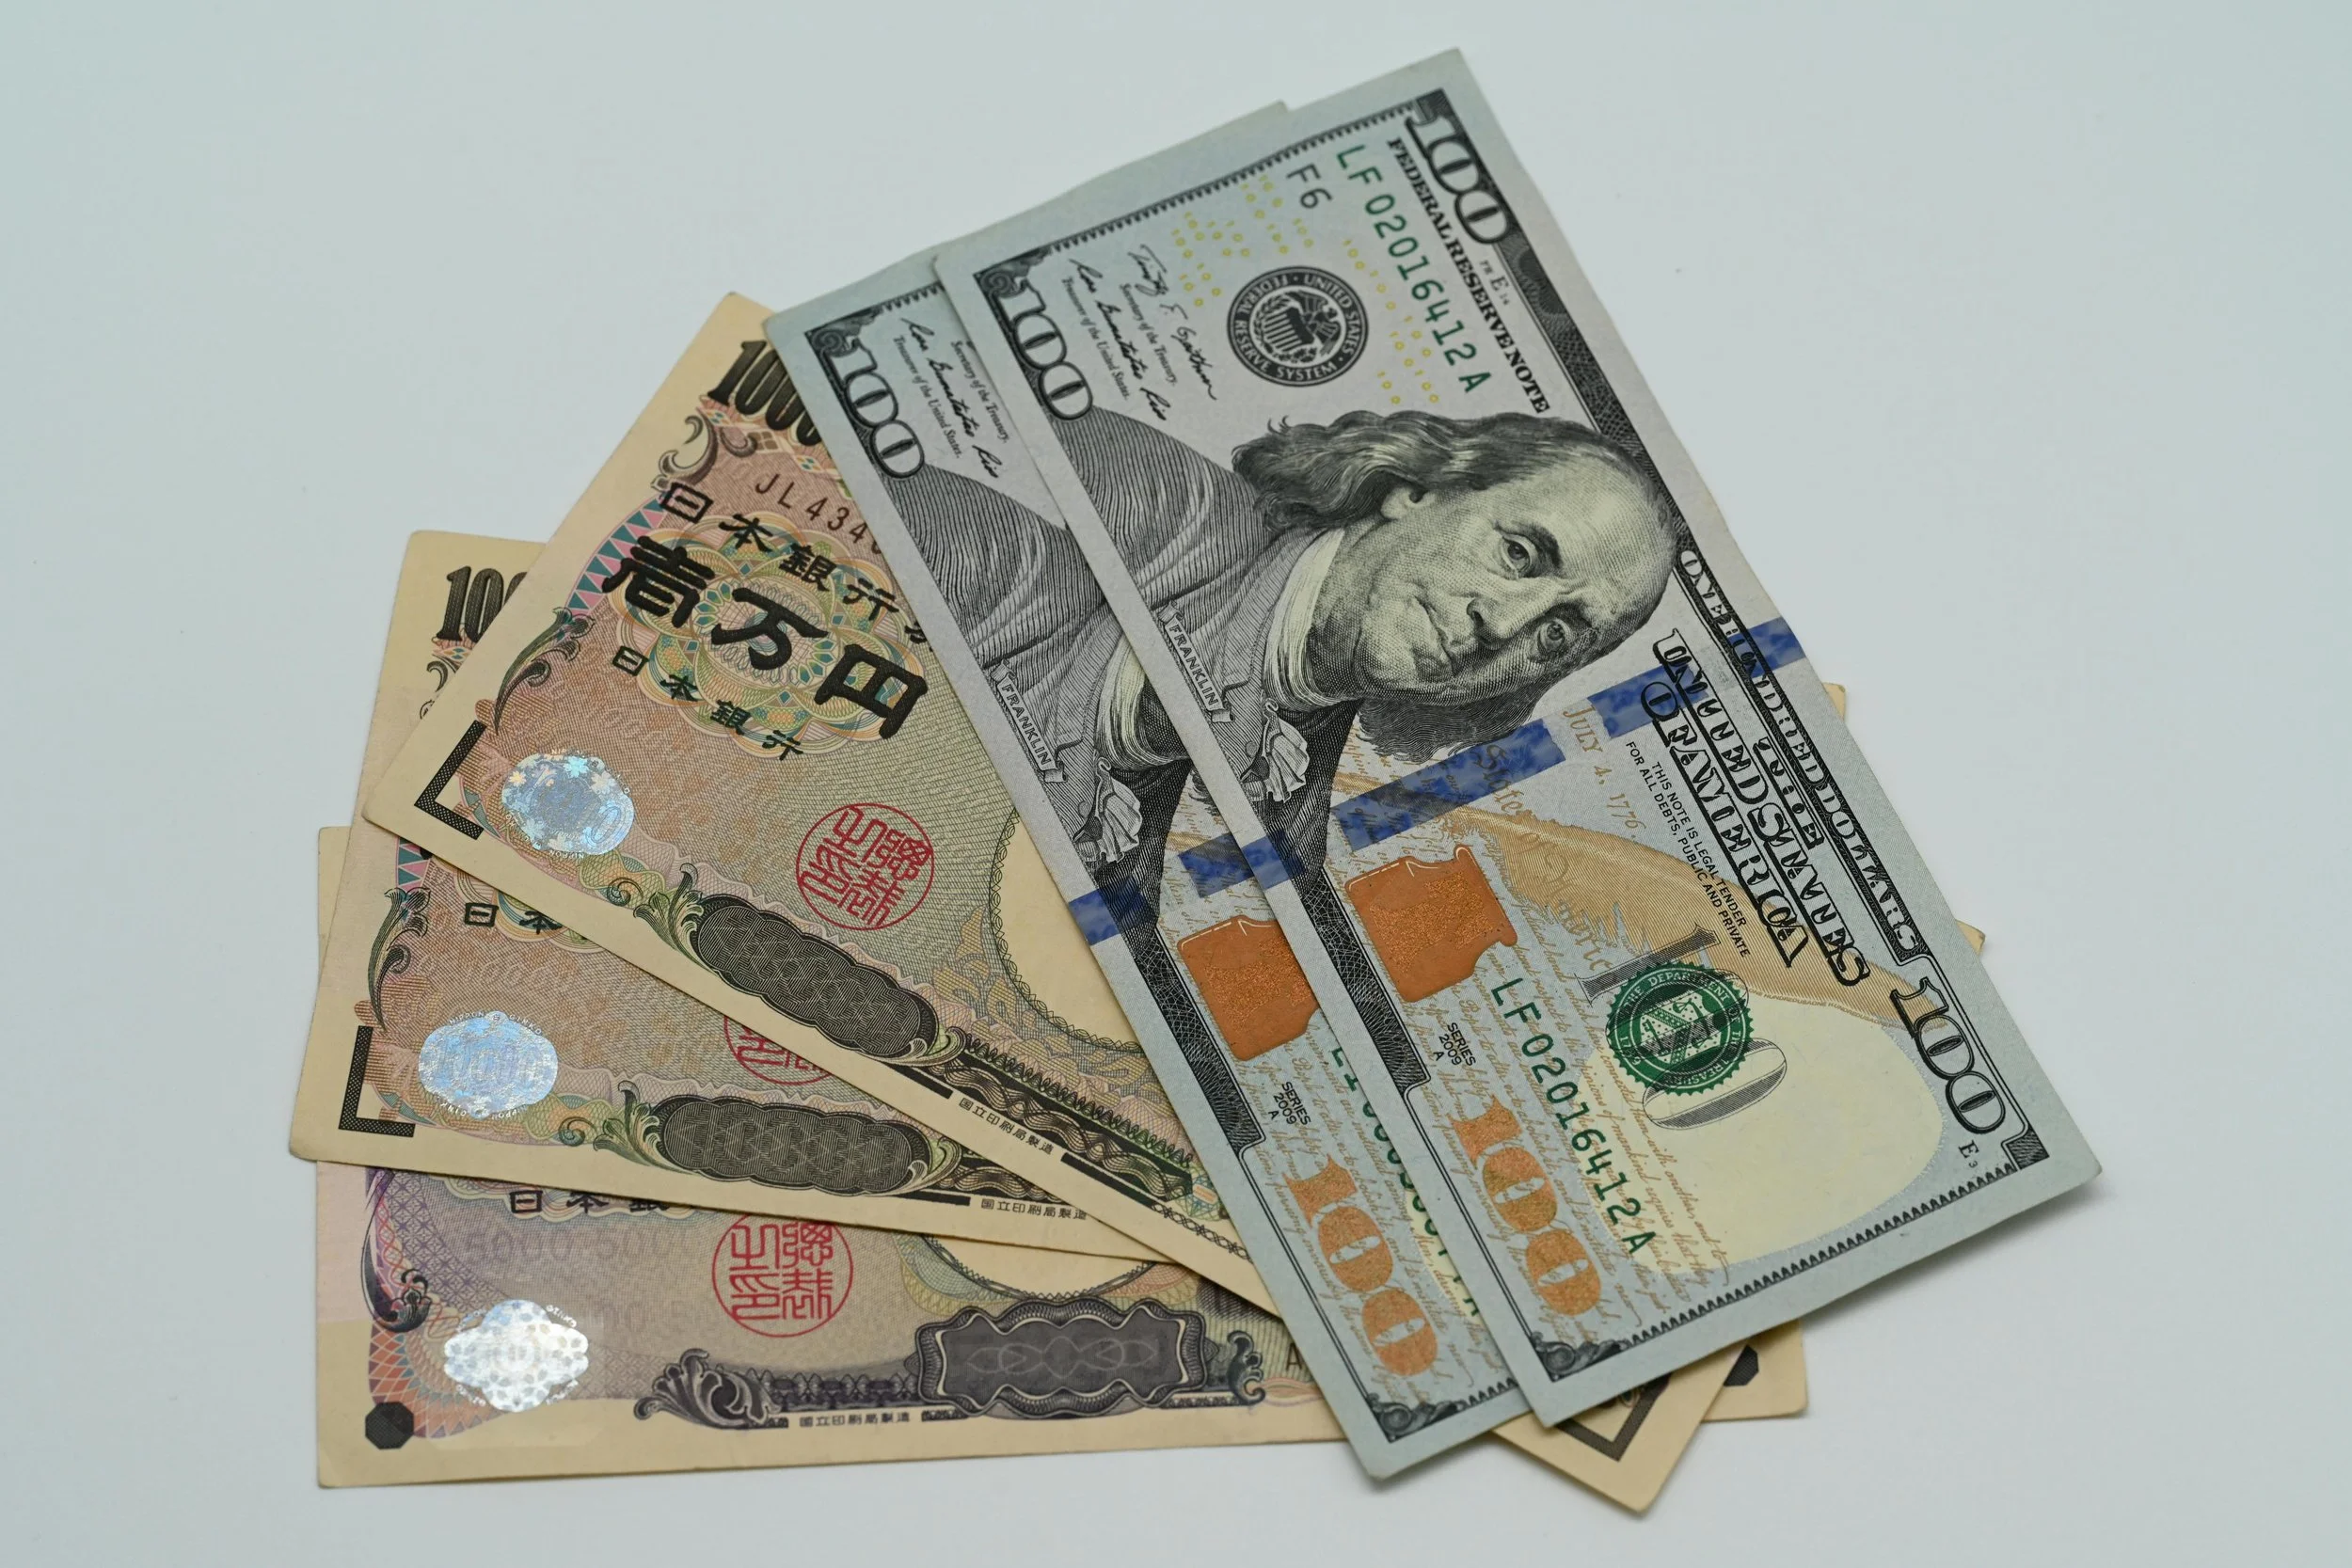
Japan isn’t the strictly cash-only country it once was, but it’s still what we’d call “cash-flavored.” You’ll find that credit cards and digital wallets work beautifully in most major cities, especially at hotels, department stores, and chain restaurants. But once you wander into Japan’s real gems — the ramen joints tucked under train tracks, the vintage markets of Osaka, or the family-run ryokans in the countryside — cash quickly becomes king again.
Here’s how to prep like a pro:
Exchange a little cash before you go. Your home airport’s rates are usually criminal, so skip that. Instead, order yen from your bank or an online currency exchange service about a week before departure. Aim to land with at least ¥20,000–¥30,000 in your wallet (roughly $130–$200 USD) — enough for taxis, snacks, and small meals until you find a good ATM.
Once you’re in Japan, 7-Eleven is your best friend. Nearly every 7-Eleven in the country has ATMs that love foreign cards — Visa, MasterCard, Amex, and even some debit cards. You’ll find them not just in Tokyo, but literally everywhere — from Kyoto’s alleyways to tiny coastal towns. Lawson and FamilyMart convenience stores also have foreign-friendly ATMs, but 7-Eleven tends to have the lowest fees and best exchange rates.
Skip the money changers at airports unless you’re desperate. The rates there are noticeably worse than what you’ll get from convenience store ATMs.
Keep some small bills and coins. You’ll need them for vending machines, train lockers, temple donations, and those irresistible ¥300 capsule toy machines that will drain your self-control.
And one final note for digital wanderers: while Suica and Pasmo cards (or their mobile versions in your iPhone Wallet) can handle most trains, convenience stores, and even some cafés, you’ll still hit moments when cash is the only option — usually right when you spot the best-looking street yakitori of your life.
Step Two:
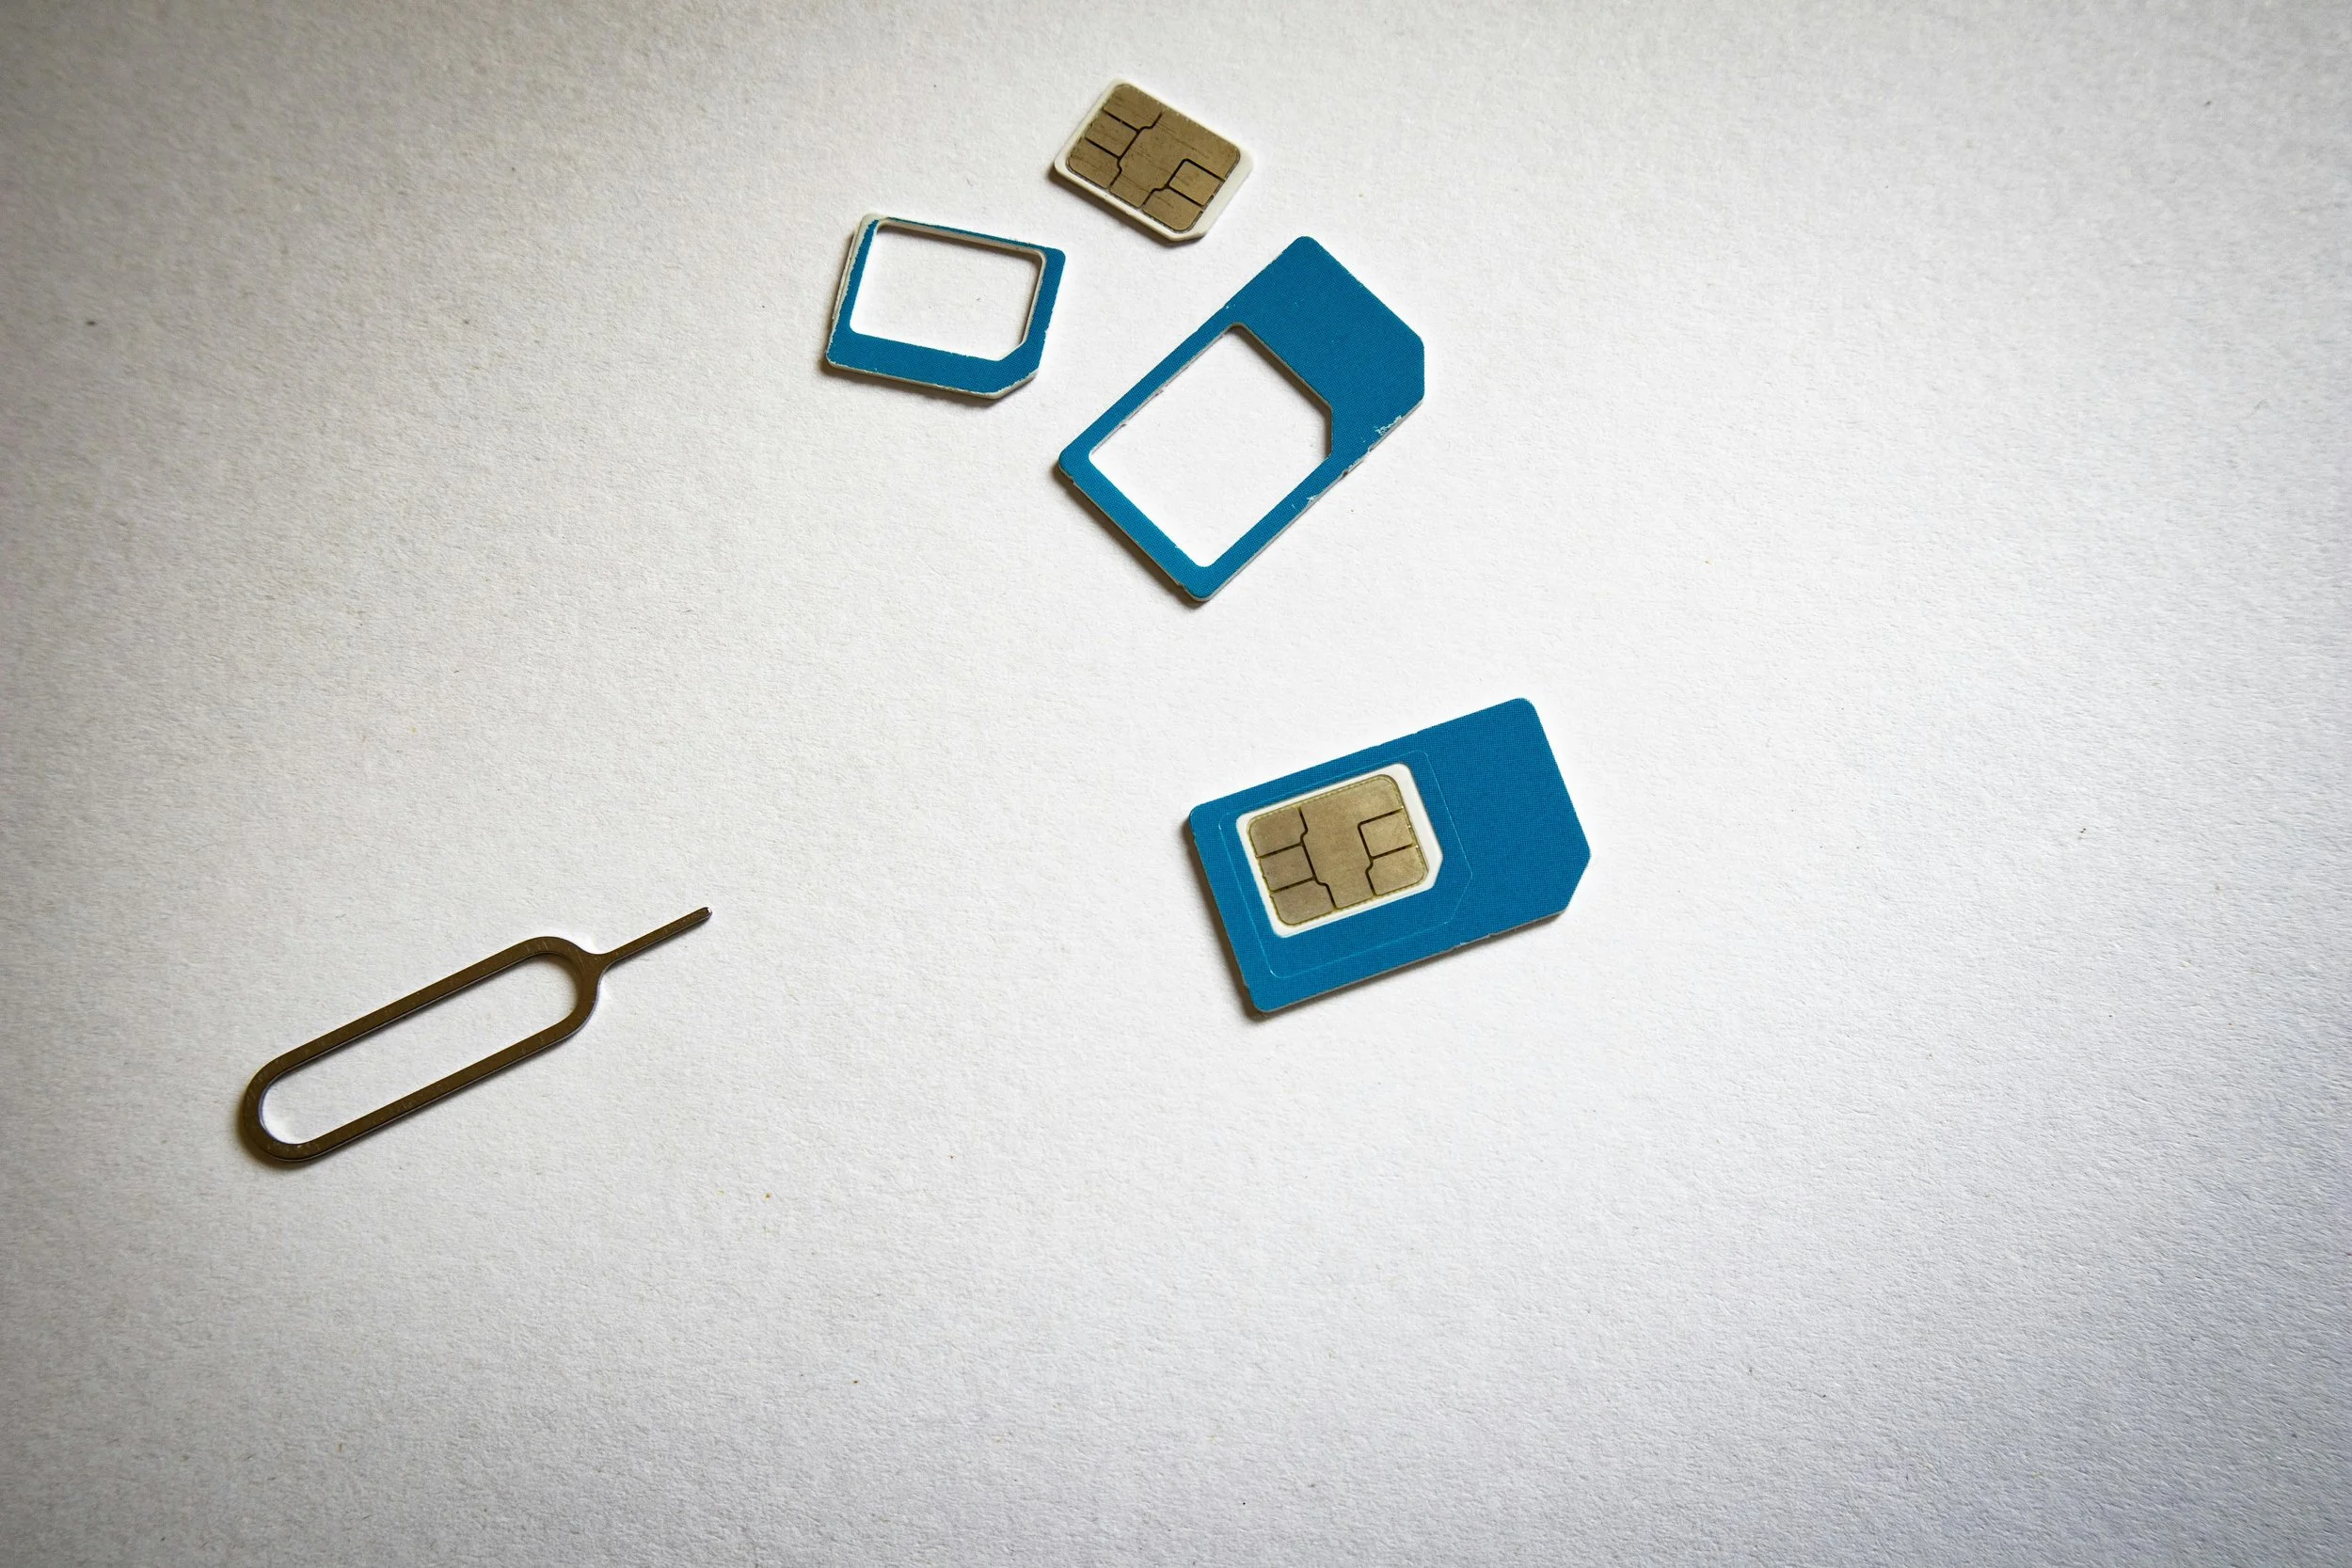
Figure Out Your SIM or eSIM Game
Your phone is your ultimate travel sidekick — part translator, part GPS, part “where the heck is the nearest ramen” guide. Without it, you’re basically navigating Japan using vibes and body language (which, while entertaining, isn’t super efficient). So making sure you have solid internet the moment you land is non-negotiable. Here’s how to stay connected without the tech panic:
Option 1: The eSIM Route (Our personal fave)
If you’re blessed with an unlocked phone, skip the airport chaos and set yourself up with an eSIM before you even board your flight.
Airalo is the easiest and most reliable option. Their Japan data plans start around $5–$20, and installation takes about five minutes. You scan a QR code, activate it, and — boom — instant data as soon as you touch down.
The connection is stable throughout major cities like Tokyo, Osaka, and Kyoto, and it even holds up surprisingly well on countryside train rides.
Option 2: The Pocket Wi-Fi Power Move
No unlocked phone? No problem — Japan’s pocket Wi-Fi devices are legendary. They’re small, portable hotspots you can connect multiple phones and laptops to (perfect for couples or groups).
You can reserve one online before you fly or just rent one at the airport — both Narita and Haneda have several counters (Ninja Wi-Fi, SoftBank Global Rental, etc.) right after baggage claim.
Expect to pay around ¥700–¥1,200 per day ($5–$8 USD), depending on speed and battery life.
The connection is fast, reliable, and shockingly consistent — even on bullet trains.
The only catch: remember to charge it nightly and return it before you leave Japan (they make this super easy at the airport).
Pro Tips for Digital Nomads and Queerdos Alike:
Always download Google Maps and Google Translate offline just in case your connection drops.
If you’re planning long countryside trips, pocket Wi-Fi tends to have better coverage than eSIMs in more rural regions.
Consider setting up LINE — Japan’s main messaging app — before you go. Locals, hotels, and even some restaurants use it for communication.
And for the love of all things kawaii, bring a power bank. You’ll be using your phone for directions, photos, translation, payments, and — let’s be honest — shrine selfies.
Having internet from the moment you land turns Japan from “mystical maze” into “adventure playground.” You’ll thank yourself when you’re breezing through Shibuya, confidently searching for your hotel, or finding the perfect noodle shop without relying on your sixth sense.

Step Three: Complete Japan’s Online Entry Forms
This one’s an absolute game changer. It’s the difference between strolling off your flight like a seasoned jet-setter or fumbling through a pile of customs papers at 6 a.m. with airplane hair and regret. Before you even zip up your suitcase, hop over to the Visit Japan Web portal. It’s Japan’s official pre-arrival system that lets you fill out all your immigration, customs, and (if needed) quarantine information online — and trust me, it’s worth every second. What used to take 20–30 minutes of shuffling, signing, and sweating now takes about five. You’ll be through the gates before the rest of your plane has even found their pens. Here’s the deal:
Create a quick account (it takes about five minutes).
Enter your travel details, passport info, and address of stay (hotel or Airbnb).
Once you’re done, the site will generate two shiny QR codes — one for immigration, one for customs.
When you land, skip the paper forms, skip the pens, and skip the panic. Just flash those codes at each checkpoint and glide through like a pro.
A few insider tips to make it foolproof:
Do it before you fly. The Wi-Fi on planes (and sometimes even airports) can be spotty, so handle it from home.
Screenshot or save your QR codes to your camera roll — airport Wi-Fi can get weird, and you don’t want to be frantically refreshing at customs.
You can also register your family or travel partner under the same account for easier group check-ins.
Make sure your phone battery isn’t dying when you land — airport chargers are few and far between on arrival.
Doing this one thing before your flight will make your arrival feel like a smooth cinematic montage instead of a bureaucratic nightmare. Less time in line, more time eating ramen — that’s the math that matters.

Step Four:
Download Google Maps Offline
Japan’s subway system isn’t just public transportation — it’s a labyrinth with personality. It’s efficient, spotless, and somehow manages to feel like both a rave and a math problem. The good news? Google Maps is your best friend here. It gives you exact train lines, platform numbers, and even which car door to stand by for the fastest transfer — but only if you have mobile data or downloaded your maps in advance.
So before you even zip up your carry-on, download Tokyo, Kyoto, Osaka — and any other cities on your itinerary — on Google Maps for offline use. That simple step can save you from full-blown “where the hell am I?” panic later. Picture this: you’ve just landed, your signal drops the second you go underground, and suddenly you’re in Shinjuku Station surrounded by five exits all labeled “West.” Spoiler alert — none of them are actually west. Offline maps mean you can still find your way to the right platform (and your hotel) without relying on luck or a stranger’s sympathy.
Step Five:
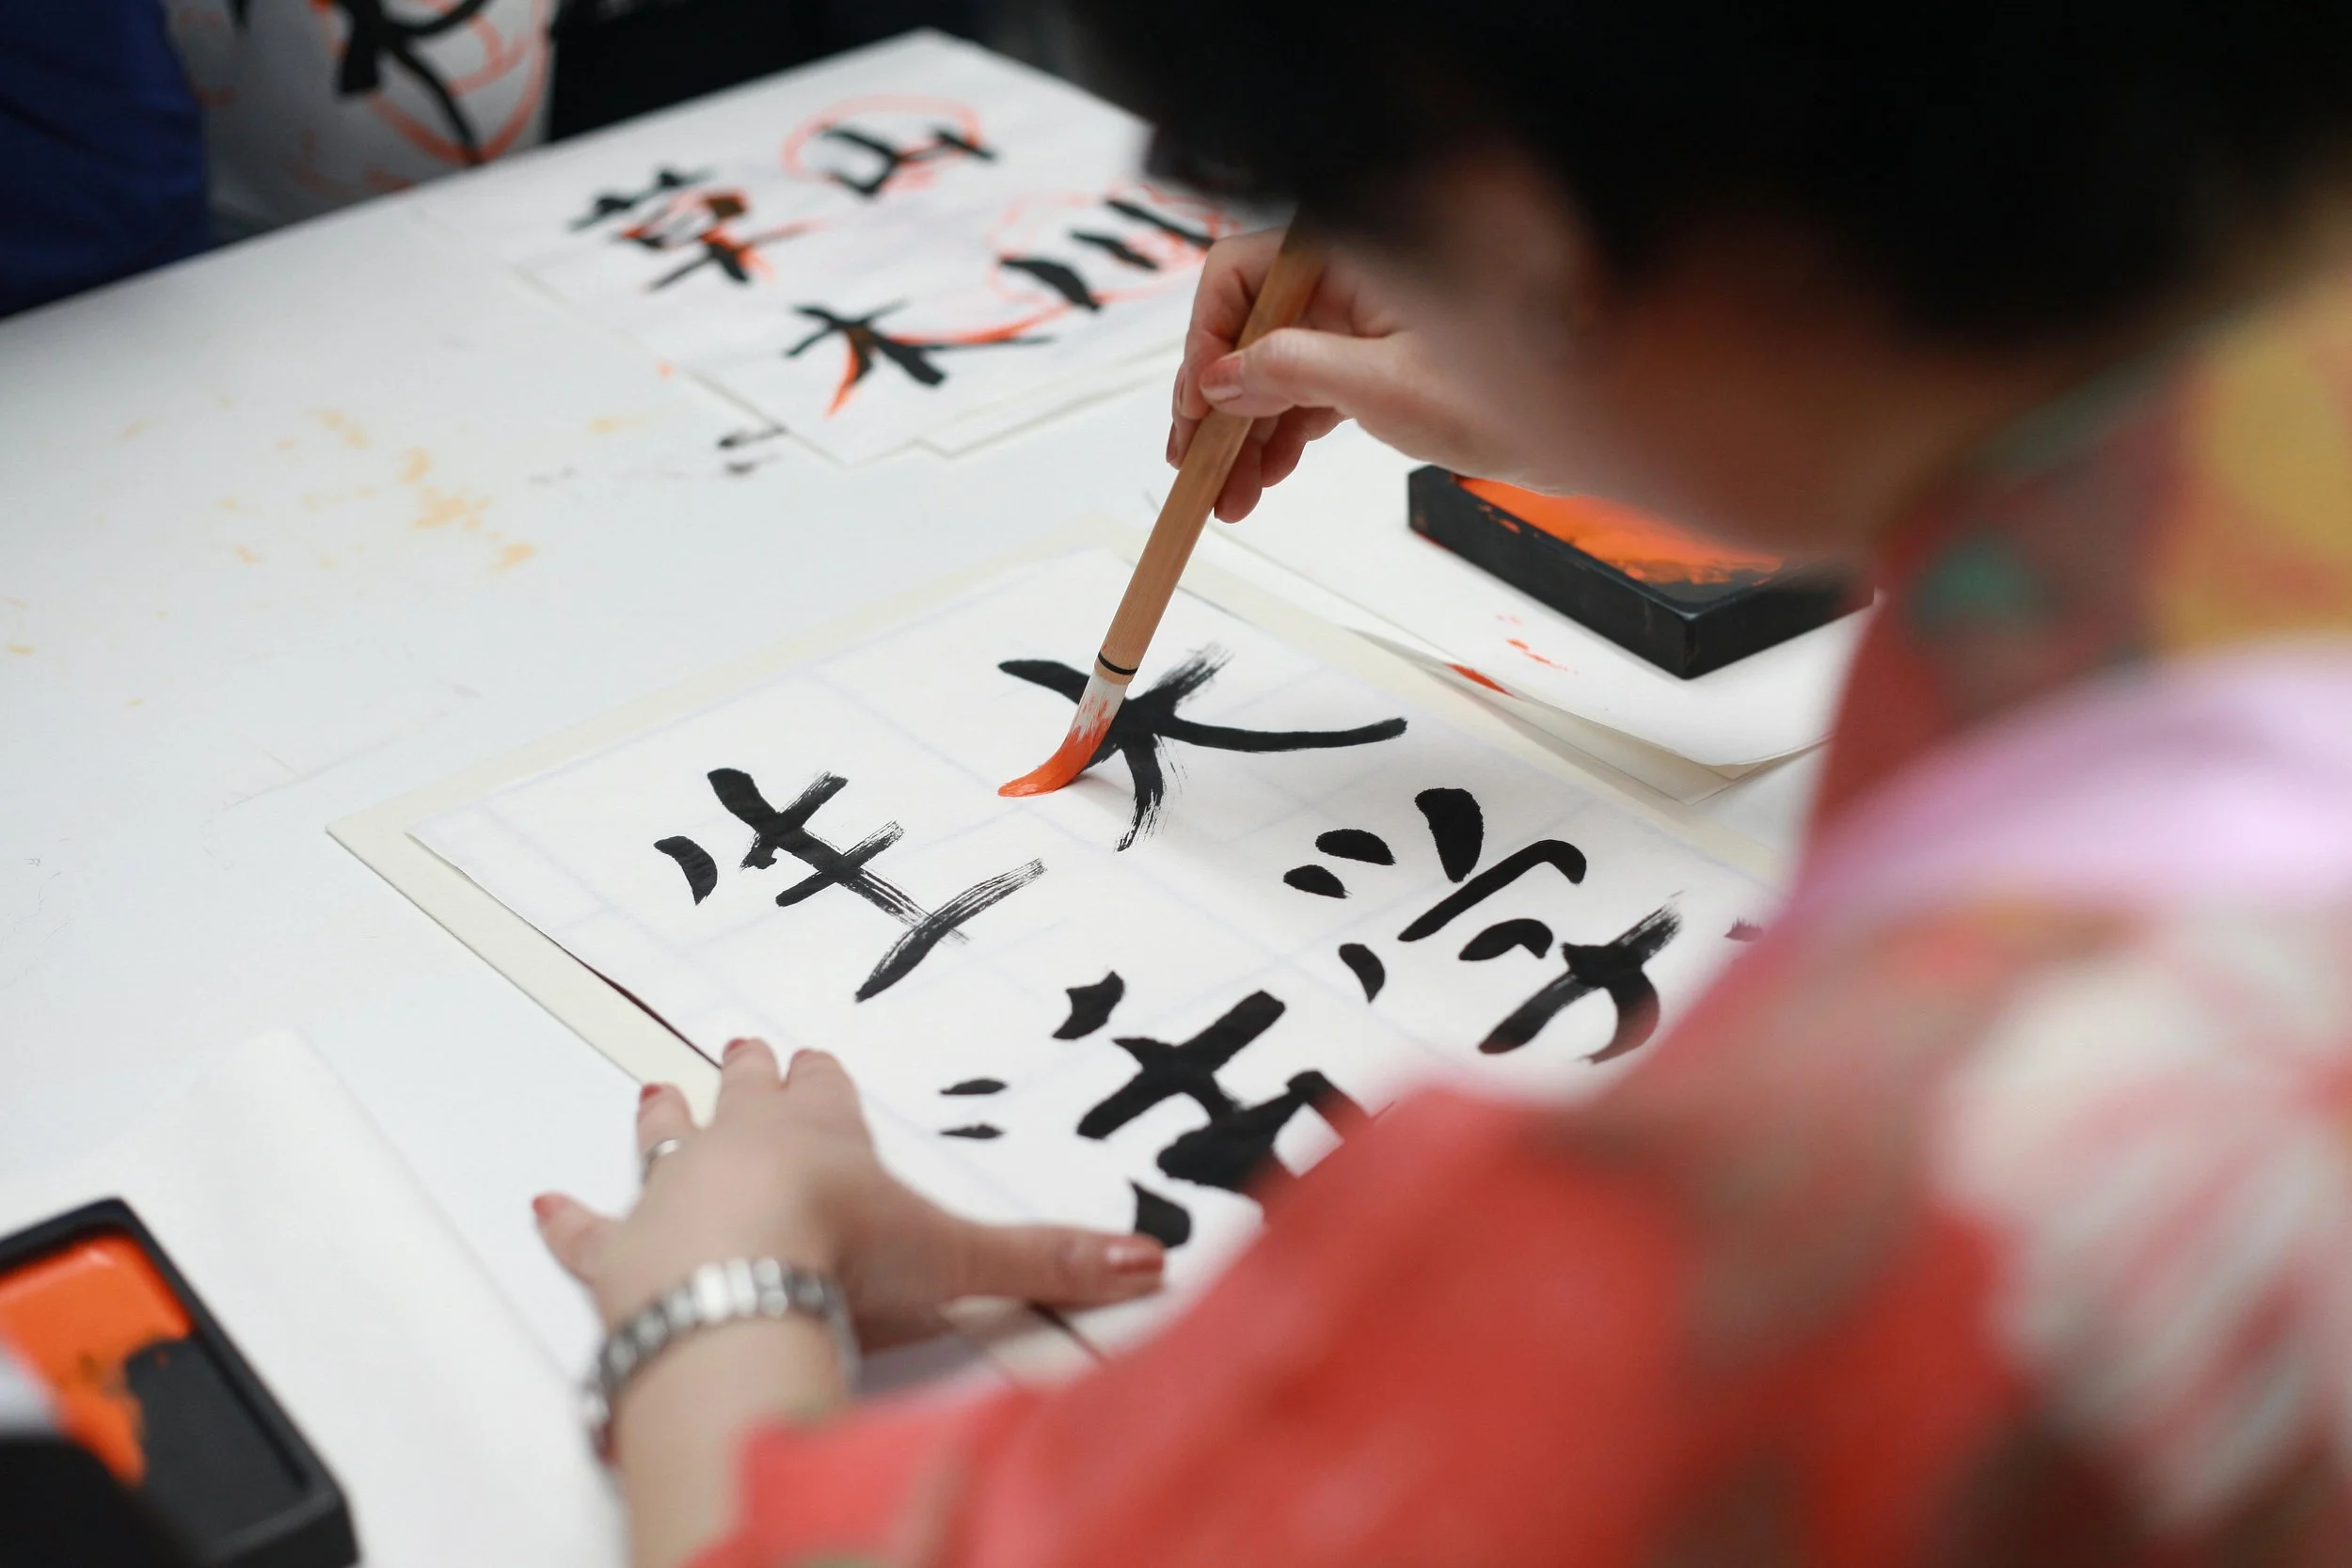
Learn Three Phrases
A little Japanese goes a long way — truly. You’ll hear phrases like “arigatou” (thank you), “sumimasen” (excuse me / sorry), and “konnichiwa” (hello) on repeat throughout your trip, and knowing when to drop them in makes daily interactions smoother — and way more fun. Even a simple nod paired with “arigatou gozaimasu” can light up someone’s face.
If you want to level up, memorize one more phrase: “Eigo daijoubu desu ka?” — which means “Is English okay?” It’s polite, humble, and shows that you’re at least trying to meet people halfway, which goes a long way in Japan’s culture of respect and courtesy. You’ll be surprised how many people will meet you with a smile (and often, impressively good English).
For everything else, Google Translate is your new bestie. Download the Japanese language pack for offline use before your flight so you can use the camera translation feature even without Wi-Fi — it’s magic. Point your phone at menus, train signs, or that mysterious vending machine label, and boom: instant English. It’s one of those tiny travel hacks that makes you feel like you have a personal interpreter in your pocket.
It’s not about being fluent — it’s about showing effort. And trust me, a few kind words (and one very smart app) can open doors, help you navigate confusing train stations, and even score you an extra smile from your ramen chef.